

If you have been waiting around to start using LinkedIn Publishing because you didn’t know where to start, here are tips to get you started and help you make the most out of your Publishing Content.
Why Use LinkedIn Publishing
LinkedIn Publishing puts your content in front of more people than ever. As a result, it has the ability to build out an already strong profile and take it to the pro level.
If done well, this feature will help you:
- Build credibility. One of the major obstacles to finding good clients is for them to trust that you know what you are talking about. LinkedIn Publishing gives you a unique opportunity to create content that can build that trust and credibility where people already look for experts.
- Show up in search. When people look for an expert, you want them to find you. LinkedIn, like any search engine, scans the content on your profile to find good fits. As long as your posts are relevant to your areas of expertise, Publishing creates more ways for LinkedIn to find you.
- Be found. Through ProFinder and other new LinkedIn features, not only will your contacts or those viewing your profile be able to see your content, but so will people who get content updates in their email, or who search for specific experts using ProFinder.
So why go through all this trouble rather than just publishing on your own blog?
The question you should ask is if your own blog is getting more traffic than the LinkedIn audience that you have access to.
Especially if you are just getting started, then the chances are pretty good that you will get more exposure and eyes on your content if you publish it on LinkedIn.
It also will be more likely that people will interact with your content when they are on LinkedIn, rather than clicking a link to an outside website and then commenting or sharing.
That being said, there is nothing that says that you can’t publish your content on both LinkedIn Publishing and your own blog or website.
If SEO is one of your major strategies, then you may want to get some background about duplicate content as it relates to LinkedIn Publishing first.
The bottom line is that for most people, the benefits of building strong content on LinkedIn outweighs the down sides.
Getting Started with LinkedIn Publishing
Ready to start building content, authority, credibility, and connections? Then let’s walk through each of the parts of your post in order to create successful content.
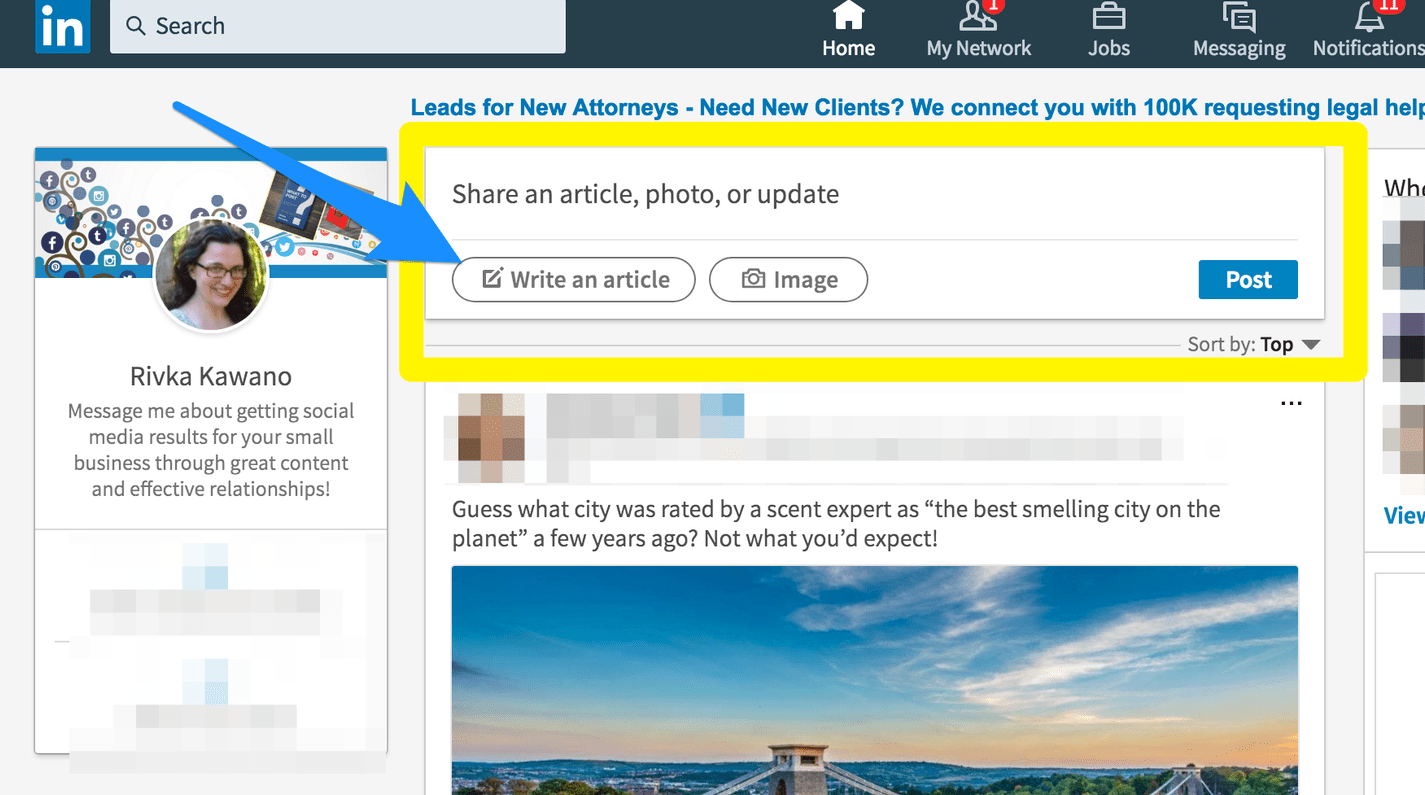
From your LinkedIn Home page click “Write an article” and then you can start your post. (How easy is that first step?)
Step 1: Write a Captivating Headline
Like any other piece of long form content, the single most important thing is the headline. People will decide based on the headline whether or not it is worth clicking to read more. Make sure that the headline is clear, concise, and makes people curious.
You want to address a key concern of your ideal client so that it gets their attention right away.
Don’t be afraid to spend time crafting a great headline. Brainstorm several different versions and then pick the best one. Some writers find it easier to write the content first, and then create a headline that fits. This is fine too. Either way, the primary thing is to make sure that your headline connects with your audience.
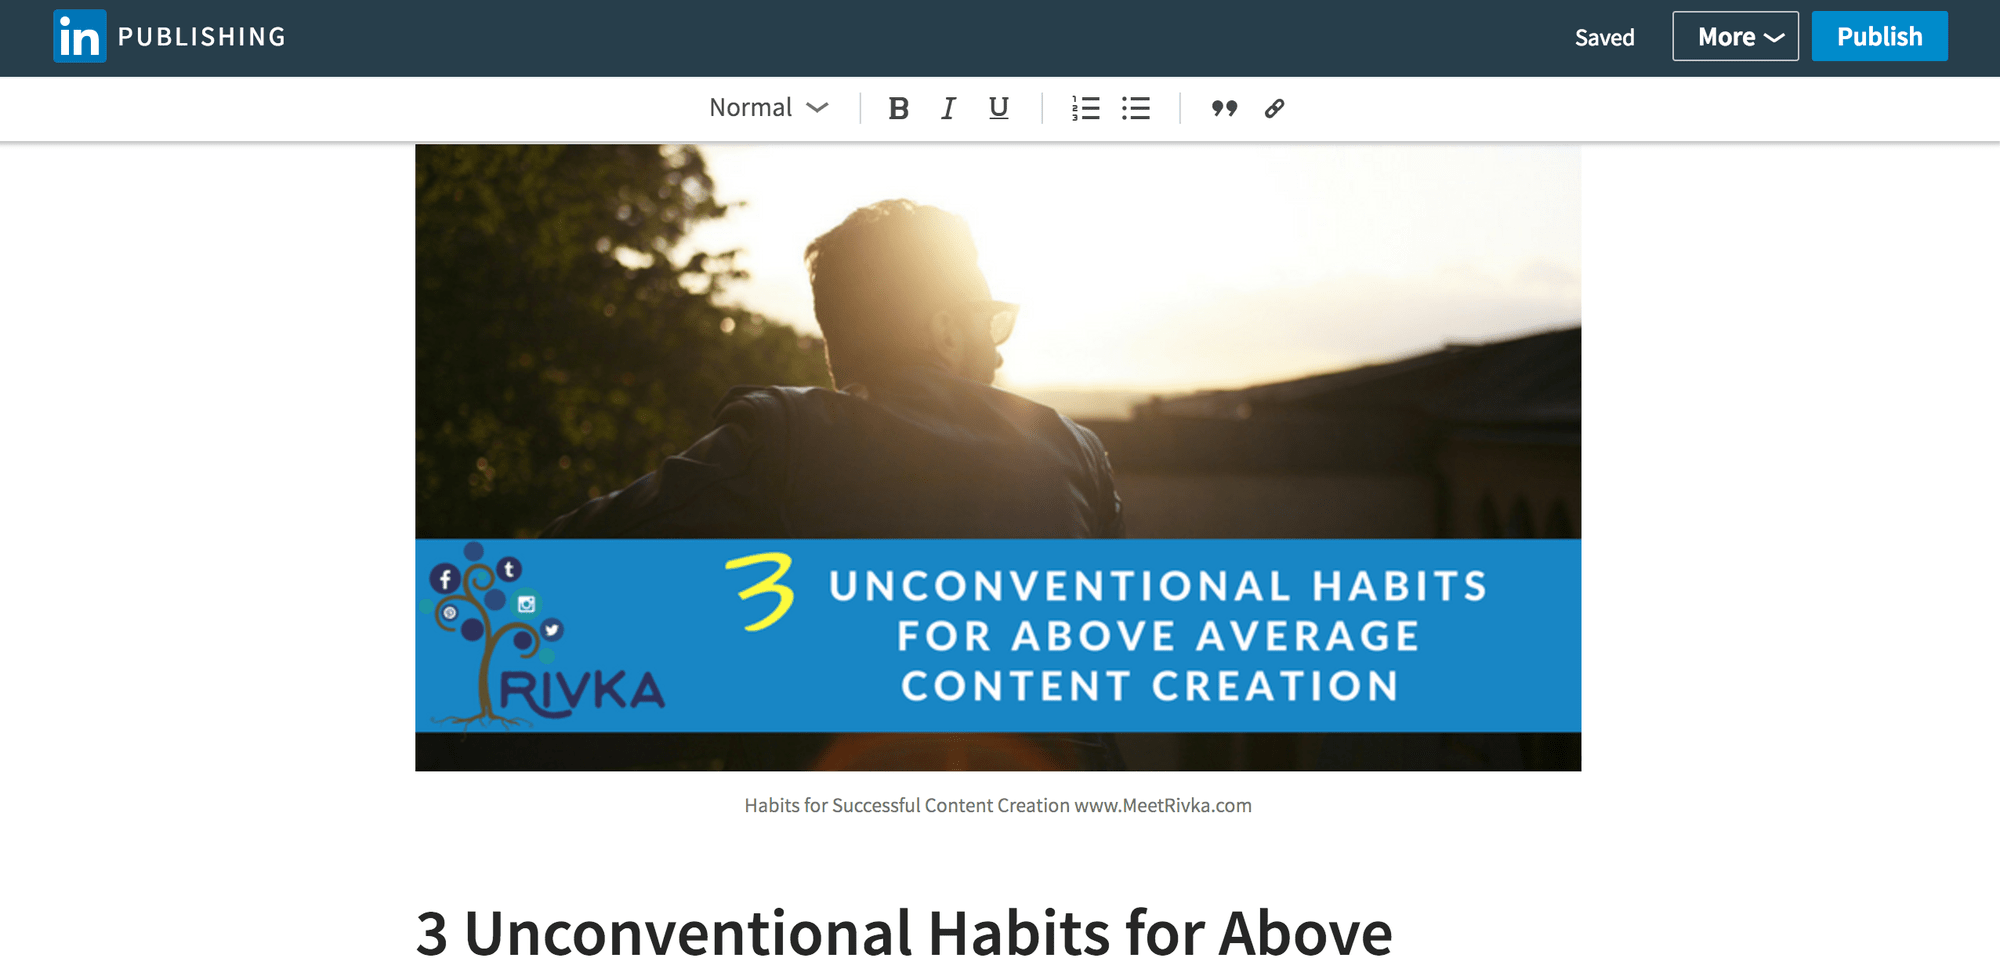
Step 2: Create an Eye-Catching Image
Once you have your headline, you will want to create a graphic version of the headline. This will show up on the top of the article itself, and as a thumbnail on your profile and in the other places it shows up on LinkedIn.
Ideal image size is 700px wide by 400px high. When you upload it, it may seem like this leaves a lot of white space. But remember that people will primarily see your image as a thumbnail, or on a mobile device.
Beyond the dimensions, some other important things to keep in mind about your image:
- Create branded images that match the rest of your online branding
- Include the title of the article
- Always use images that you own rights to
- Use the caption area to include other keywords, image credits when needed, or your website
- Avoid too many colors, fonts, or multiple images – you want clear and clean design that attracts attention
Using a tool like Canva can make this process easier for the non-designer. It even has a template for LinkedIn Publishing header images.
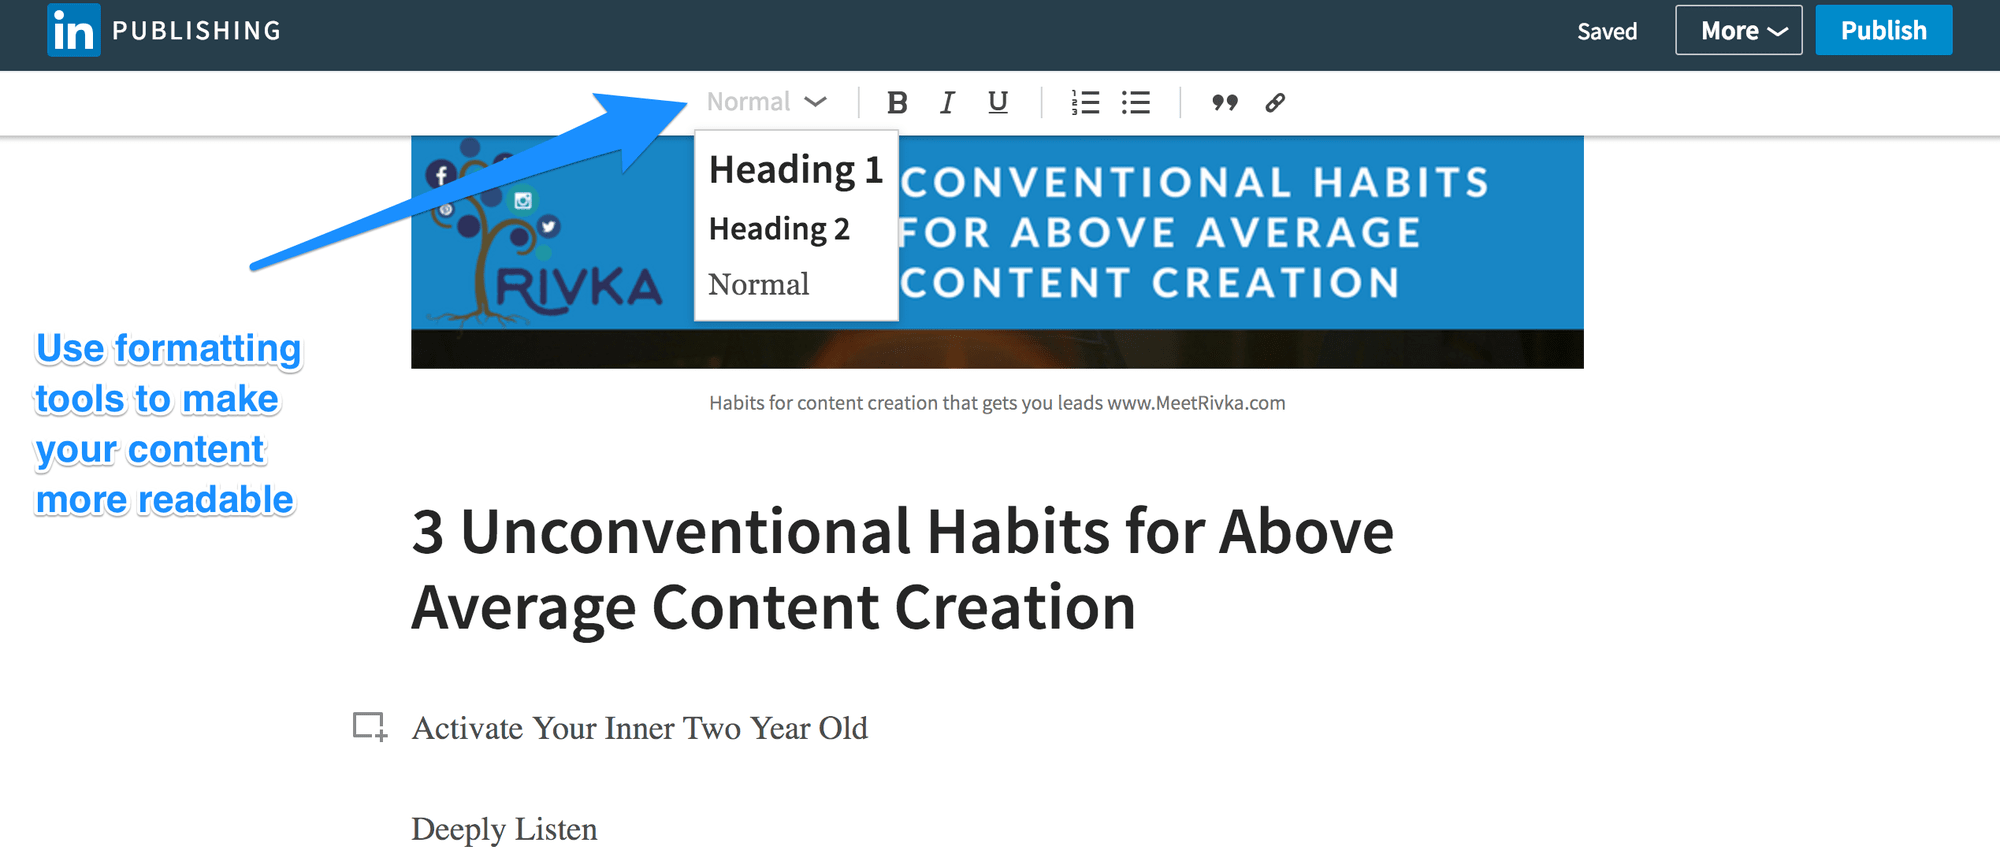
Step 3: Develop Useful and Readable Content
Put yourself in the mind of your ideal client.
- What questions do they have?
- What keeps them up at night?
- What stresses them out?
- What can you write about that will make them excited to read it?
Being able to write well helps here. But even the best writer will lose their readers without proper web formatting. Utilize the headings to create guideposts along the way to keep people reading, and break down lists of information into bullet points.
Step 4: Add Multimedia Where Applicable
Even among those actively using LinkedIn Publishing, one of the most underused features is the ability to add many types of media to your content. Adding appropriate videos, images, and other content will take your posts from good to amazing. Good visuals are often shareworthy, boosting engagement and reach.
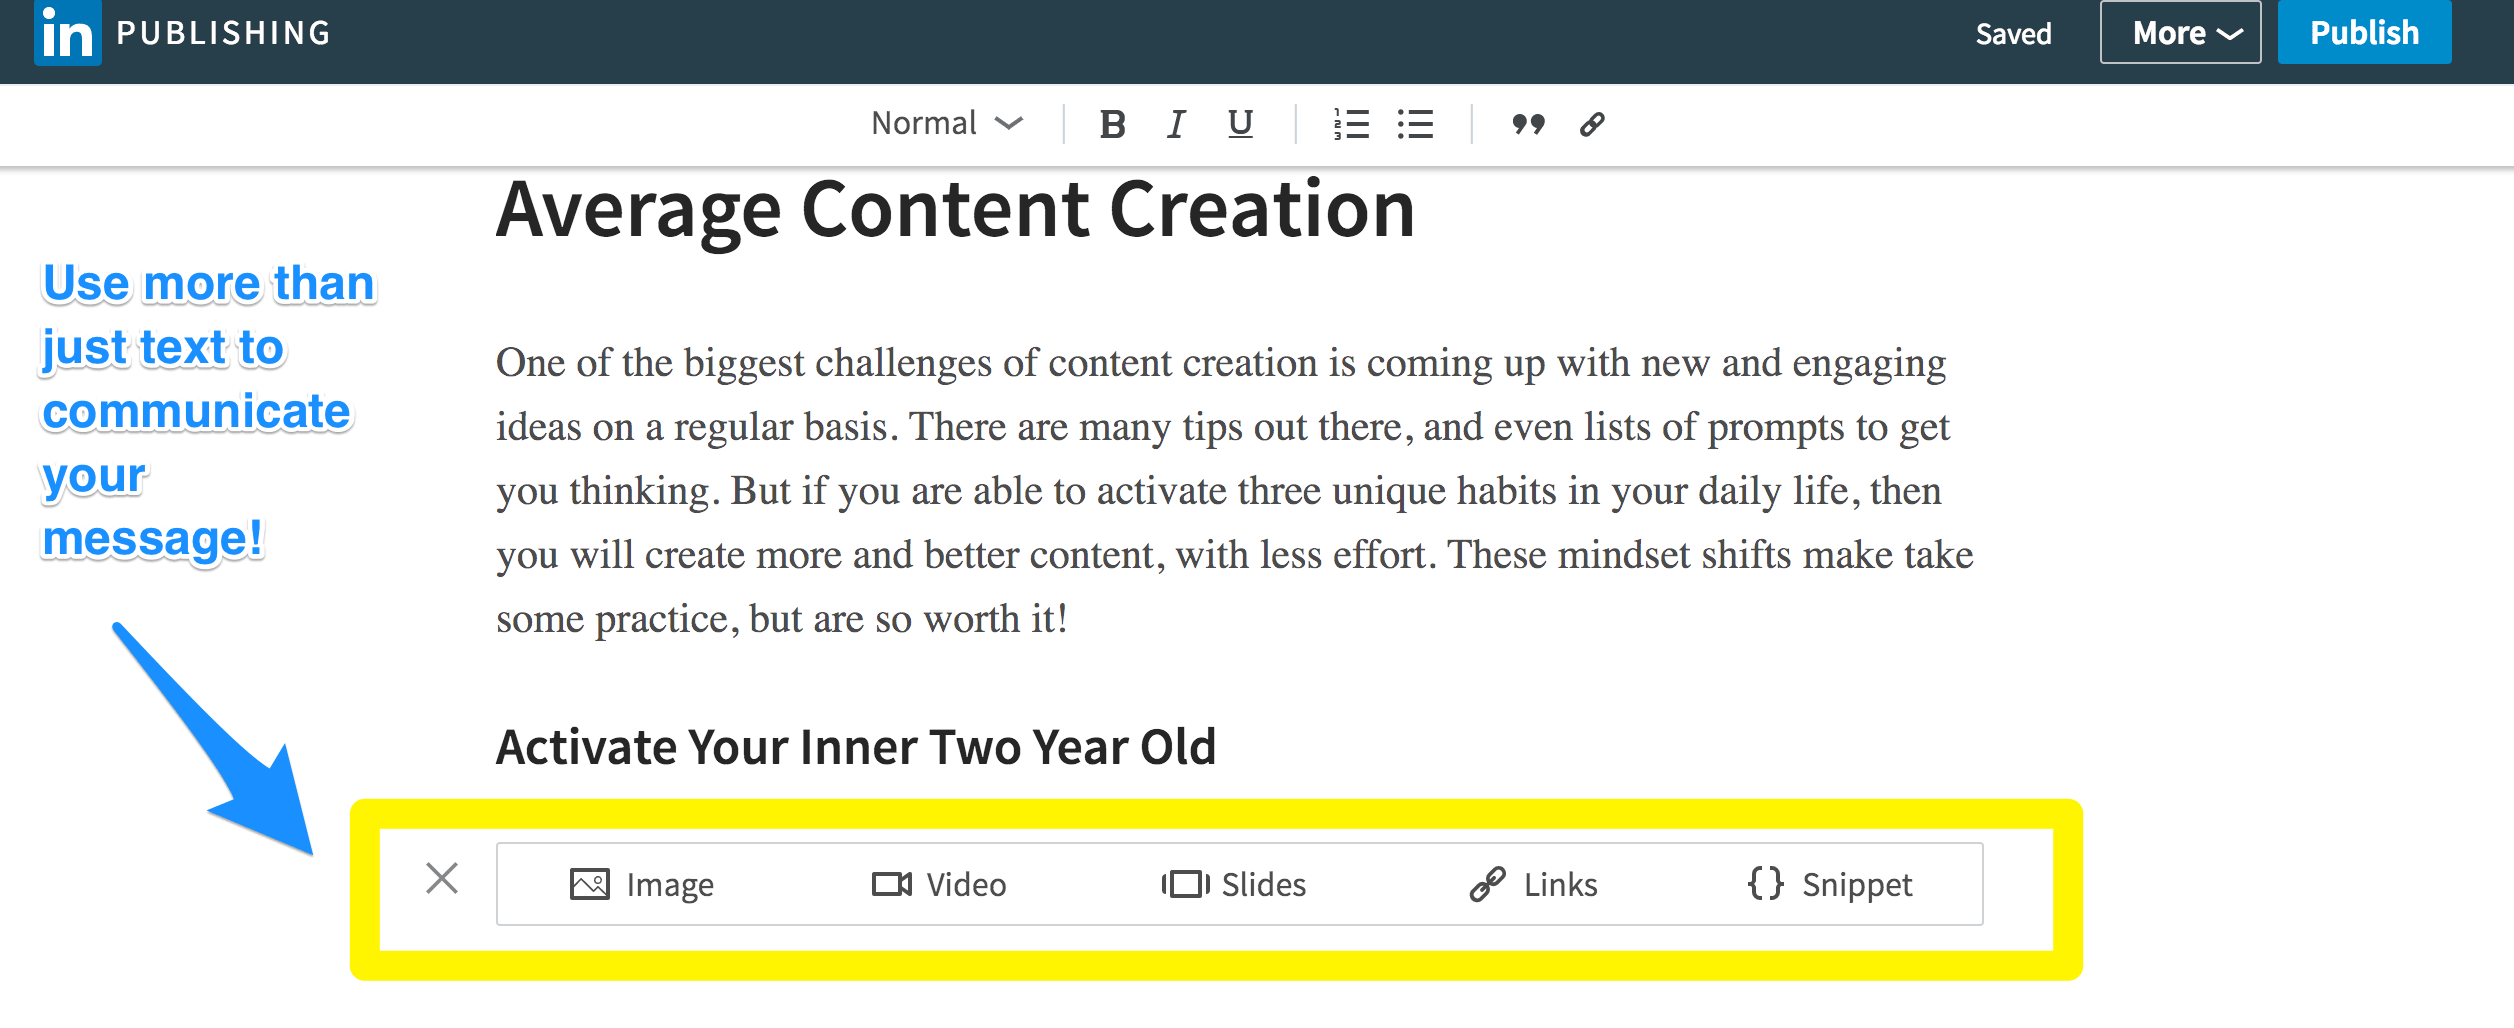
There are five different media options, and they may offer more than you realize, so are worth highlighting individually.
- Image. this is the most straight forward. Keep in mind ideal size for your image. You should stick with 700 pixels for the width, but can vary the height depending on the image. If your image is a different size than this, take the time to crop or resize and save a new version before uploading.
- Video. Copy and paste the link for a YouTube, Vimeo or other video that is hosted elsewhere. As always, you will want to make sure that video has a custom thumbnail on the source host so that it looks good within the post. (At the present, you can’t upload video to LinkedIn.)
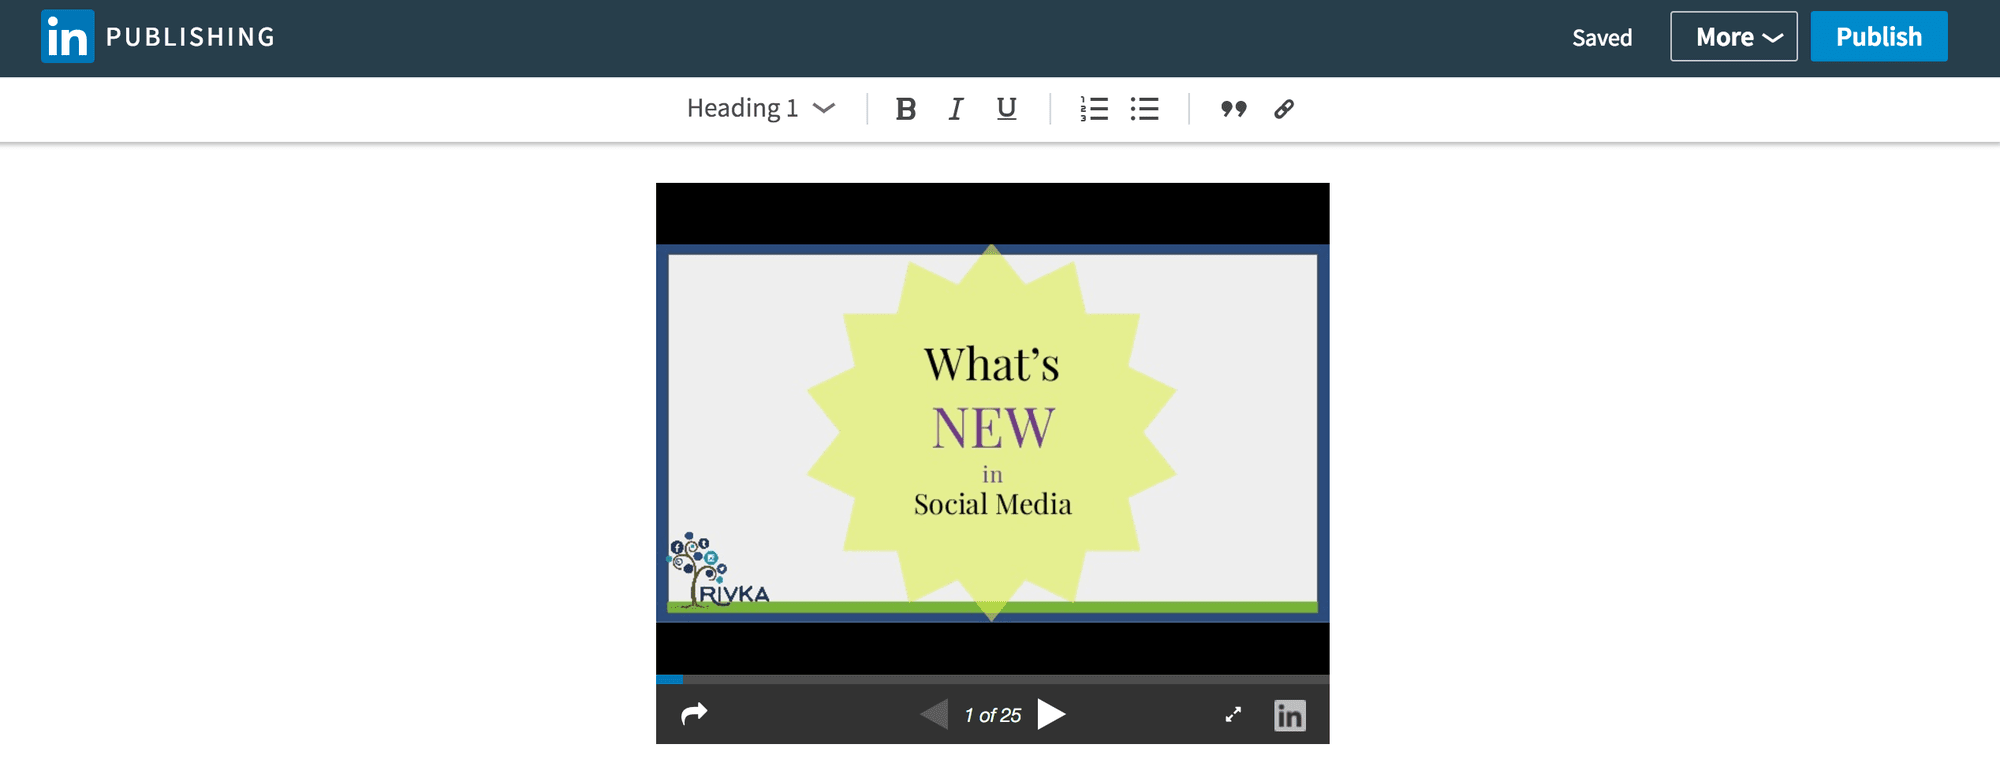
- Slides. Add slides by copying the link of wherever the slides are hosted, such as Slideshare, Google Drive, Prezi, etc.
It is worth noting that not all sources will be displayed equally. Slideshare, as one of LinkedIn’s companies, shows up the best, displaying the whole slideshow presentation, and allowing you to click through the slides directly in the post. This would be the ideal if you want to make the slides an integral part of your post.
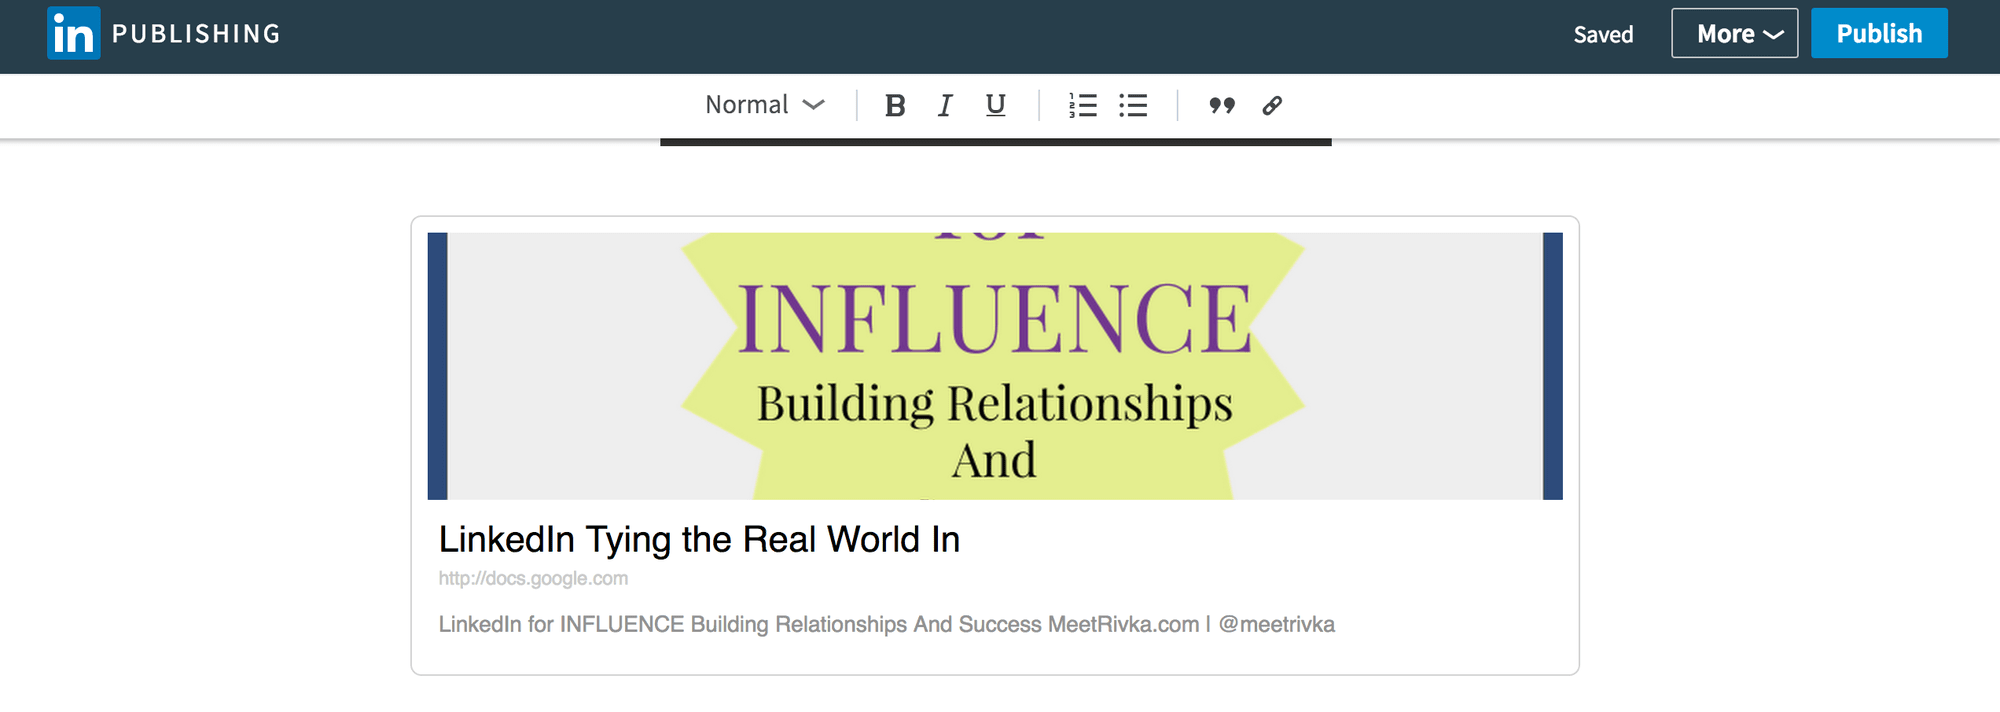
When I used a Google Presentations link, it displayed a portion of the slide, and when you clicked you went to the link, but did not allow you to navigate from within the post. You will want to experiment with the look if you are using something else, and may want to consider importing your slides into Slideshare for the best view.
Take a look below at the difference in how it shows up. Here is the Slideshare version:
And here is the Google Presentation version:
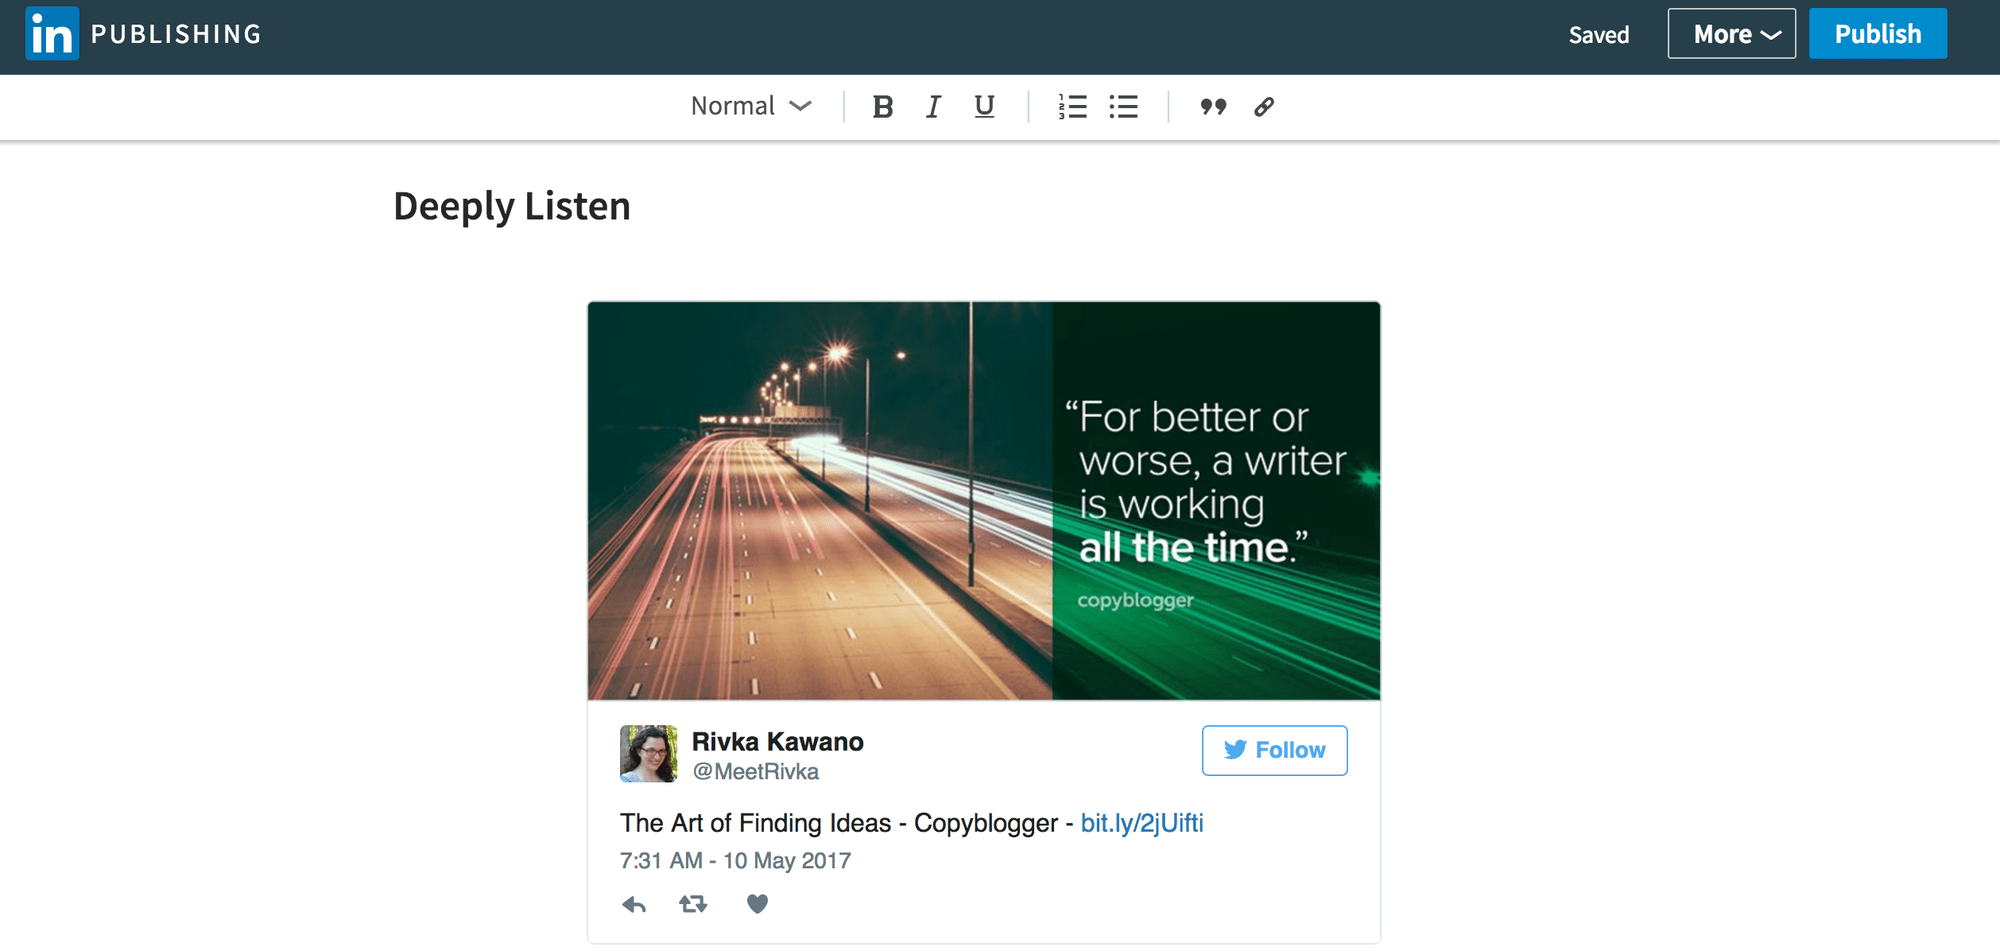
- Links. Here is another opportunity to get creative and integrate your social media efforts on a whole new level. You can include links to your website and other links of course, though how well they show up will depend on what images are available in the post. The most powerful use of this feature is to embed Twitter and other social media posts. Simply post the link to the tweet itself, and it will embed the post, even including a follow button! One important thing to note is that the link will only work if it is a publicly published post.
- Snippets. Snippets are a quick, visual way to offset text. It is perfect for quotes, testimonials, or references to other materials.
Step 5: Include a Call to Action
The more interaction you get on your post, the more potential reach it has. Maximize this by always finishing your post with a call to action.
It can be as simple as asking people to comment with what they think about the topic, or you could even include a link to an opt-in page with more information that you can email them. It is important that you deliver real value in the body of the post before doing this. Whatever your call action is, it should align with your bigger goals in your business.

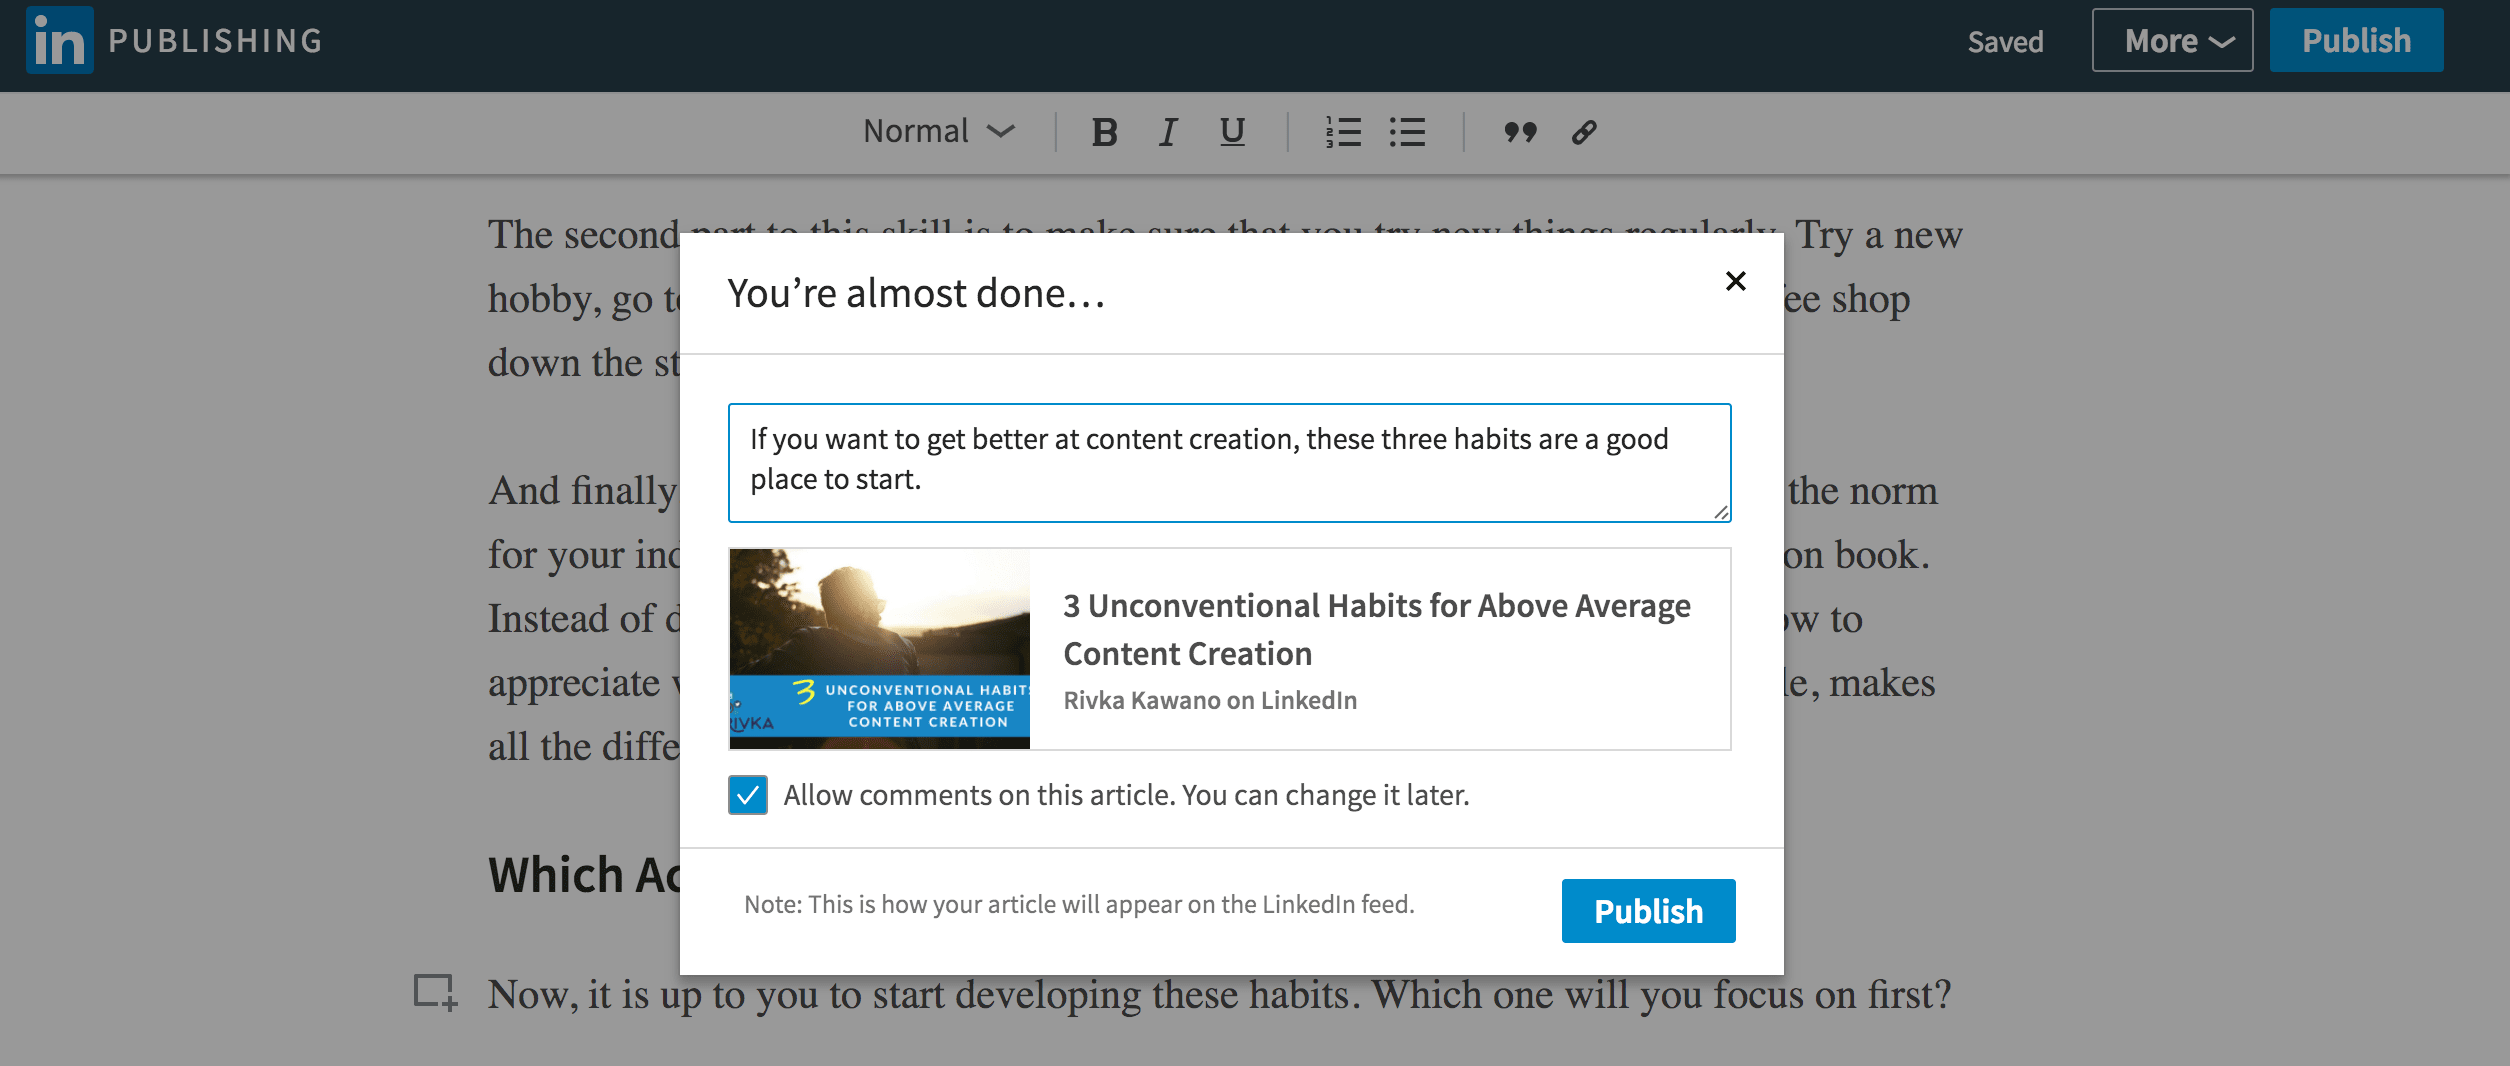
Step 6: Publish
The last step is to hit “Publish” on your completed post. Share the post on your timeline, and make sure you watch the post to respond to comments and other interactions.
Adding LinkedIn Publishing to a regular schedule of content creation is one of the best ways to use LinkedIn to grow your business.
Sign up now for a free trial of Agorapulse and see what you can do on LinkedIn.


